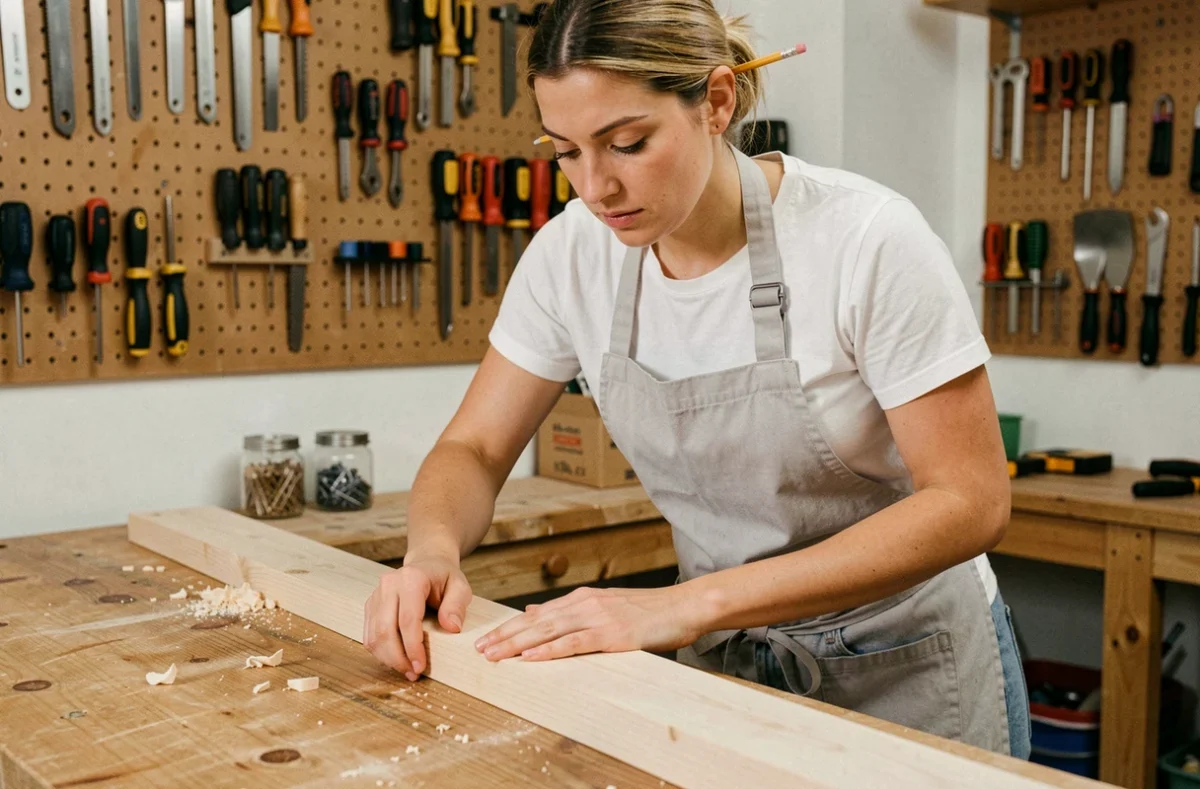
A dripping tap, a shelf to put up, a wall in need of a fresh coat of paint: we often put off these small projects for fear of getting them wrong. DIY doesn’t require any special talent, just a method and a few suitable tools. Here are the basics for tackling your first projects without turning your living room into a disaster zone.
DIY protection and safety: what a standard mask won’t protect you from
Before we get to screwdrivers or drills, let’s address safety. Most household accidents during DIY projects could have been avoided with equipment suited to the specific task.
A classic beginner’s mistake is thinking that one dust mask protects you from everything. In reality, a dust mask does not filter paint or solvent fumes. When sanding wood or drilling into a wall, protect yourself from dust and flying debris with safety glasses and a particulate mask. When applying oil-based paint or using a chemical paint stripper, you need a cartridge respirator and a well-ventilated room.
Taking DIY classes for beginners is a great way to learn these safety habits before tackling a project on your own.
Here’s the basic equipment to have on hand for any first project:
- Impact-resistant safety glasses, even for a simple drill into plaster (debris can fly farther than you think).
- Gloves suited to the material: thin nitrile gloves for painting, and heavy-duty gloves for handling rough wood or metal.
- An FFP2 particulate mask for sanding, and a cartridge respirator when using chemicals (varnish, paint stripper, solvent-based paint).
- Closed-toe shoes with thick soles, especially when working on the floor with sharp or heavy tools.
DIY toolbox: five hand tools to get before a drill
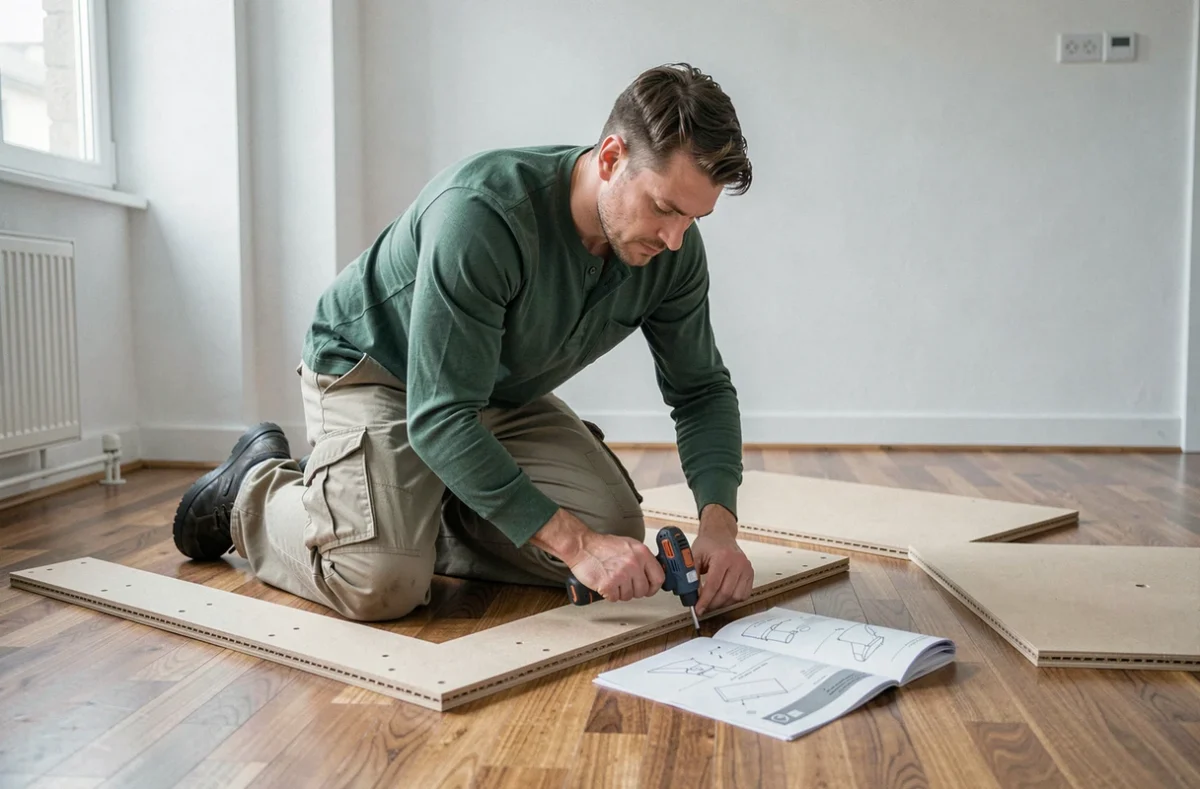
It’s tempting to buy a cordless drill-driver for your very first project. That’s often premature. Mastering hand tools gives you control over your movements—something power tools don’t forgive when you’re just starting out.
The basic trio: a carpenter’s hammer, a set of flathead and Phillips screwdrivers, and a pair of adjustable pliers. These three tools are enough to handle most minor household repairs.
Add a tape measure and a spirit level. A tape measure may seem obvious, but measuring twice before drilling once saves you from making unnecessary holes in the wall. A spirit level costs just a few euros and keeps you from putting up a crooked shelf, which is still the most visible first-time DIY mistake.
A cordless drill-driver comes next, once you know how to drive screws by hand and understand the difference between an anchor for drywall and one for concrete. It’s not about budget; it’s about building your skills step by step.
Choose fixings to suit the wall
One thing beginners almost always overlook: the fixing depends on the wall, not the item you’re hanging. Drywall needs expansion anchors (such as Molly bolts). Hollow brick requires specific anchors. Solid concrete can take standard hammer-in anchors.
Hammering a standard anchor into drywall leaves a gaping hole, and the shelf will end up on the floor within a few days. To identify your wall, tap on it: a hollow sound indicates drywall or hollow brick, while a solid sound suggests concrete or stone.
First DIY project: repaint a piece of furniture instead of a wall
Most guides recommend starting by painting a wall. That’s a poor choice for a first project. Painting an entire wall requires preparation (washing, filling holes, light sanding, and protecting the floor and baseboards), plenty of supplies, and several hours of work. Mistakes show immediately across a large surface.
Repainting a small wooden piece of furniture (a bedside table or a stool) is a much better way to learn. You’ll practice sanding, applying primer, and painting in thin, even coats—all on a smaller surface where it’s easy to touch things up.
Sanding between coats is what separates an amateur finish from a polished result. Use fine-grit sandpaper and sand lightly, just enough to help the next coat adhere. This simple step makes a big difference to the final result.
Dispose of paint waste properly from your first project
One thing beginners often discover too late: paint cans, even nearly empty ones, don’t belong in the regular recycling bin. Leftover paint and solvents are hazardous waste and must be taken to a recycling centre that accepts them. Guidelines vary by municipality, but the principle is the same everywhere: never throw leftover paint in household rubbish.
Learn DIY with hands-on guidance
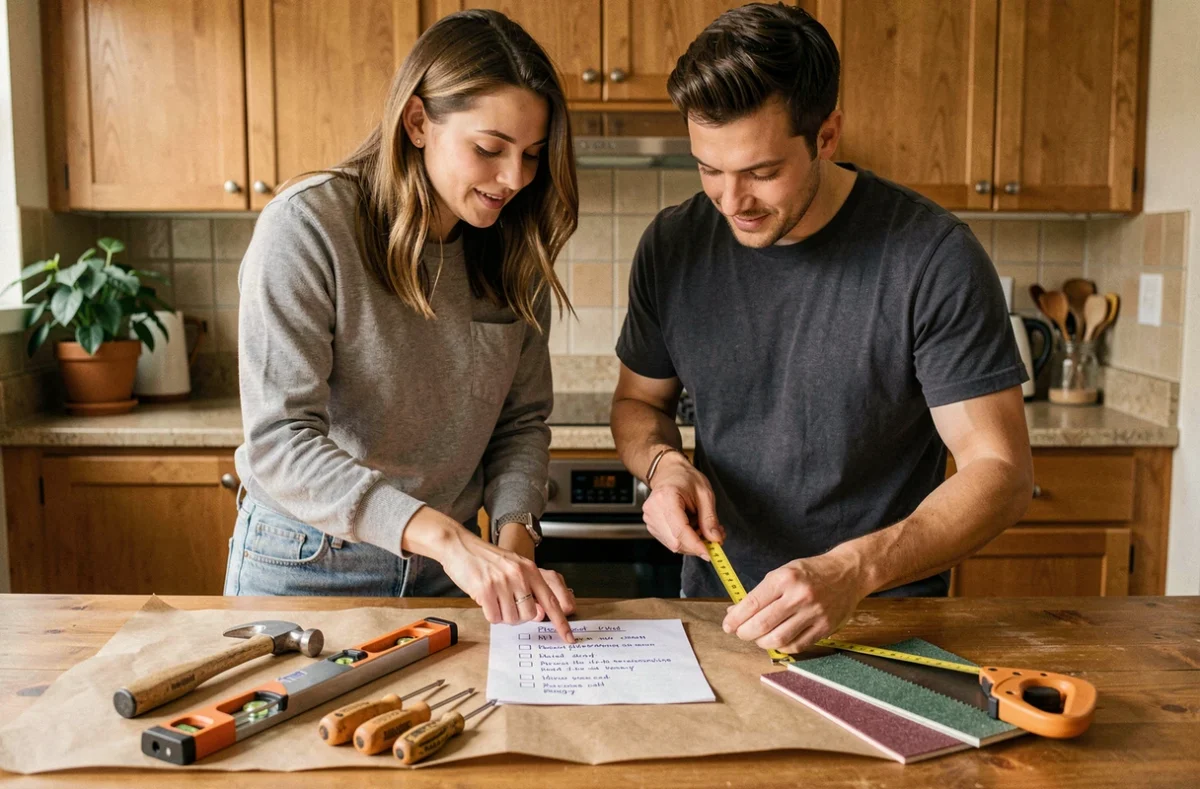
Video tutorials are helpful, but they can’t correct a bad technique in real time. Group workshops and Repair Cafés offer a practical setting where you can learn from someone who demonstrates, corrects your technique, and explains why one approach works better than another.
National Repair Days, for example, offer practical workshops and opportunities to meet repair professionals. The goal isn’t just to have an item repaired, but to learn the skills to do it yourself. For a beginner, watching an experienced repairer take apart and reassemble an everyday item provides a mechanical understanding that no video can convey as effectively.
How long it takes to learn varies from person to person and project to project, but taking part in a supervised workshop can give you the confidence to tackle a small project at home.
DIY is learned through practice, not theory. Choose a modest first project, match your protective gear to the material you’re working with, and remember that careful sanding matters more than expensive tools: these three principles are all you need to make your first DIY projects practical and rewarding.